Checking The Valve Springs
Fragment manuala — str. 329
📋 Tekst do skopiowania / wyszukiwania
VALVES AND VALVE SPRINGS
4. Lap:
• Valve face
• Valve seat
NOTE:
After replacing the cylinder head or replacing the
valve and valve guide, the valve seat and valve
face should be lapped.
▼▼▼▼▼▼▼▼▼▼▼▼▼▼▼▼▼▼▼▼▼▼▼▼▼▼▼▼▼▼▼▼
a. Apply a coarse lapping compound “a” to the
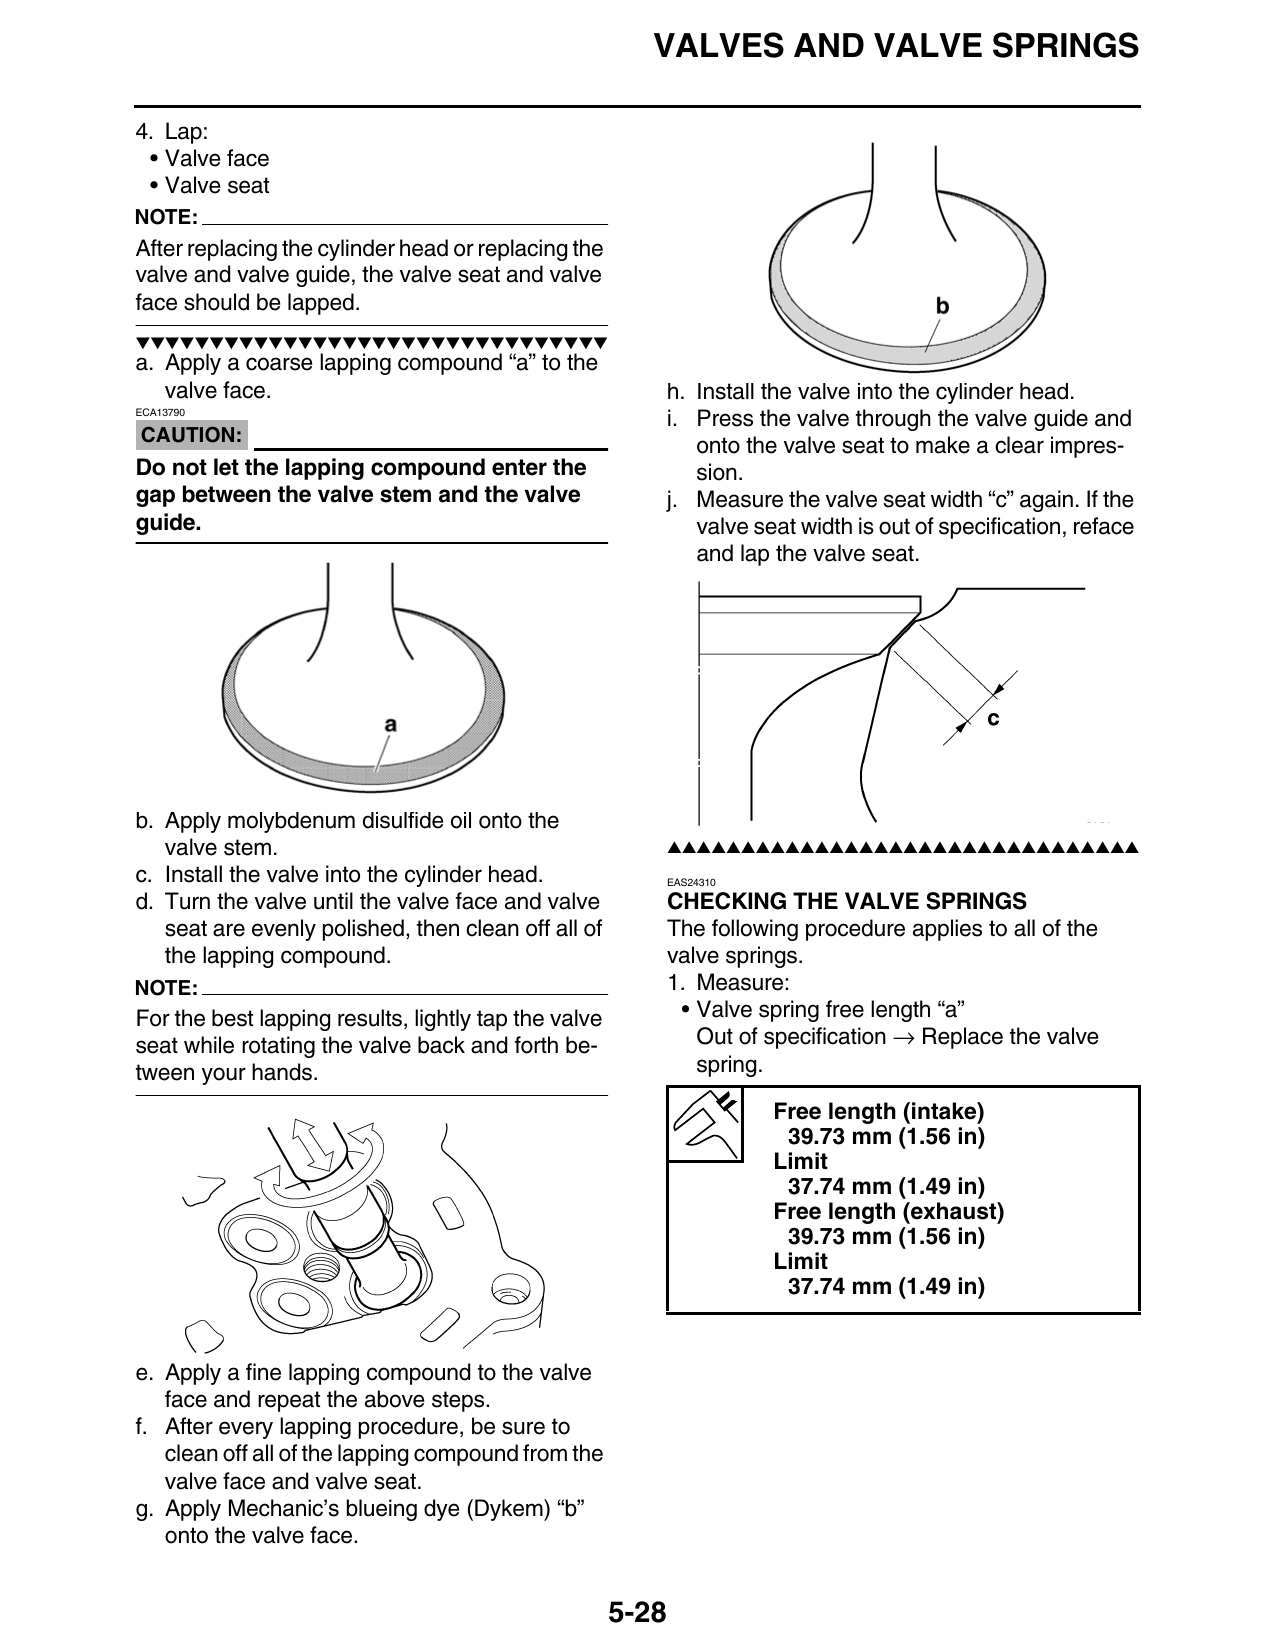
valve face. h. Install the valve into the cylinder head.
ECA13790
i. Press the valve through the valve guide and
CAUTION:
onto the valve seat to make a clear impres-
Do not let the lapping compound enter the sion.
gap between the valve stem and the valve j. Measure the valve seat width “c” again. If the
guide. valve seat width is out of specification, reface
and lap the valve seat.
b. Apply molybdenum disulfide oil onto the
valve stem. ▲▲▲▲▲▲▲▲▲▲▲▲▲▲▲▲▲▲▲▲▲▲▲▲▲▲▲▲▲▲▲▲
c. Install the valve into the cylinder head. EAS24310
d. Turn the valve until the valve face and valve CHECKING THE VALVE SPRINGS
seat are evenly polished, then clean off all of The following procedure applies to all of the
the lapping compound. valve springs.
NOTE: 1. Measure:
For the best lapping results, lightly tap the valve • Valve spring free length “a”
seat while rotating the valve back and forth be- Out of specification → Replace the valve
tween your hands. spring.
Free length (intake)
39.73 mm (1.56 in)
Limit
37.74 mm (1.49 in)
Free length (exhaust)
39.73 mm (1.56 in)
Limit
37.74 mm (1.49 in)
e. Apply a fine lapping compound to the valve
face and repeat the above steps.
f. After every lapping procedure, be sure to
clean off all of the lapping compound from the
valve face and valve seat.
g. Apply Mechanic’s blueing dye (Dykem) “b”
onto the valve face.
5-28