Installing The Front Fork Legs
Fragment manuala — str. 268–269
📋 Tekst do skopiowania / wyszukiwania
FRONT FORK
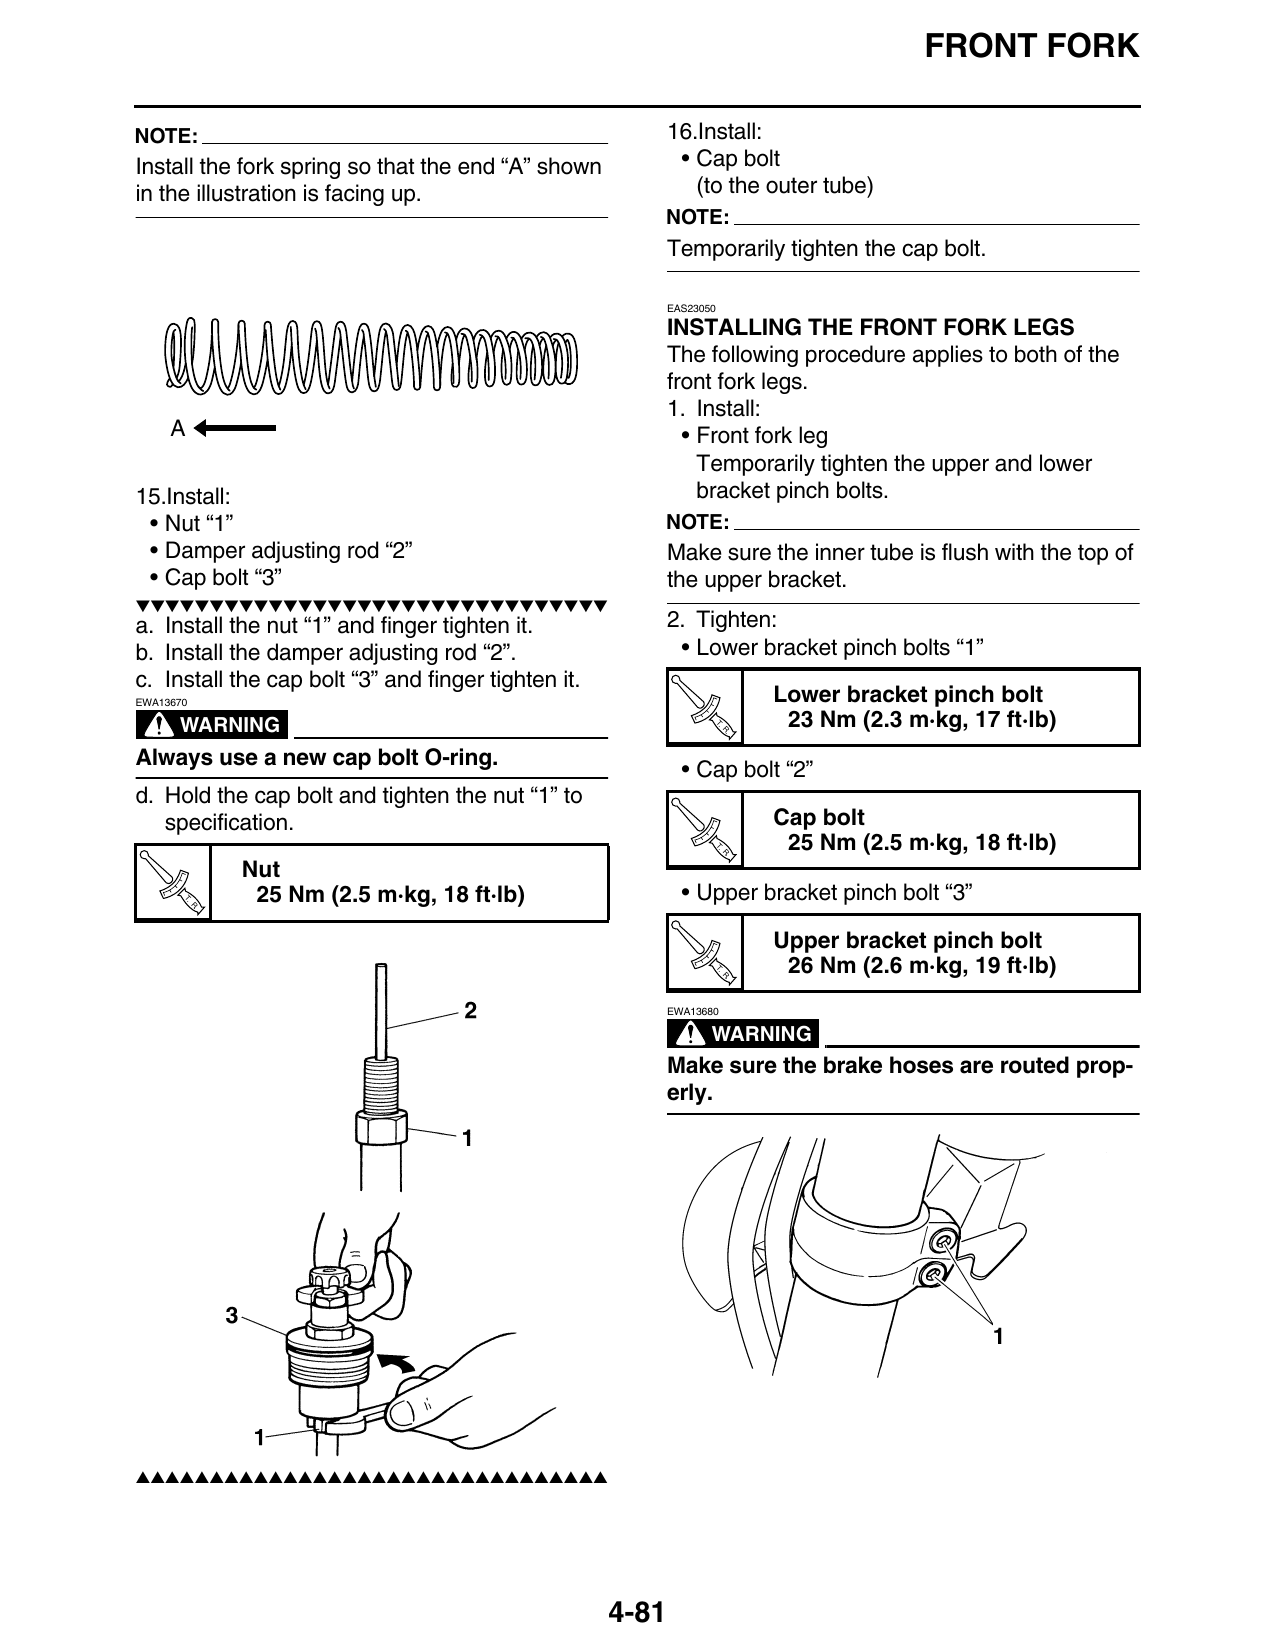
NOTE: 16.Install:
Install the fork spring so that the end “A” shown • Cap bolt
in the illustration is facing up. (to the outer tube)
NOTE:
Temporarily tighten the cap bolt.
EAS23050
INSTALLING THE FRONT FORK LEGS
The following procedure applies to both of the
front fork legs.
1. Install:
A • Front fork leg
Temporarily tighten the upper and lower
15.Install: bracket pinch bolts.
• Nut “1” NOTE:
• Damper adjusting rod “2” Make sure the inner tube is flush with the top of
• Cap bolt “3” the upper bracket.
▼▼▼▼▼▼▼▼▼▼▼▼▼▼▼▼▼▼▼▼▼▼▼▼▼▼▼▼▼▼▼▼
a. Install the nut “1” and finger tighten it. 2. Tighten:
b. Install the damper adjusting rod “2”. • Lower bracket pinch bolts “1”
c. Install the cap bolt “3” and finger tighten it.
EWA13670 Lower bracket pinch bolt
WARNING T.
R.
23 Nm (2.3 m·kg, 17 ft·lb)
Always use a new cap bolt O-ring.
• Cap bolt “2”
d. Hold the cap bolt and tighten the nut “1” to
specification. Cap bolt
T.
R.
25 Nm (2.5 m·kg, 18 ft·lb)
Nut
T.
R.
25 Nm (2.5 m·kg, 18 ft·lb) • Upper bracket pinch bolt “3”
Upper bracket pinch bolt
T.
R.
26 Nm (2.6 m·kg, 19 ft·lb)
EWA13680
WARNING
Make sure the brake hoses are routed prop-
erly.
▲▲▲▲▲▲▲▲▲▲▲▲▲▲▲▲▲▲▲▲▲▲▲▲▲▲▲▲▲▲▲▲
4-81
FRONT FORK
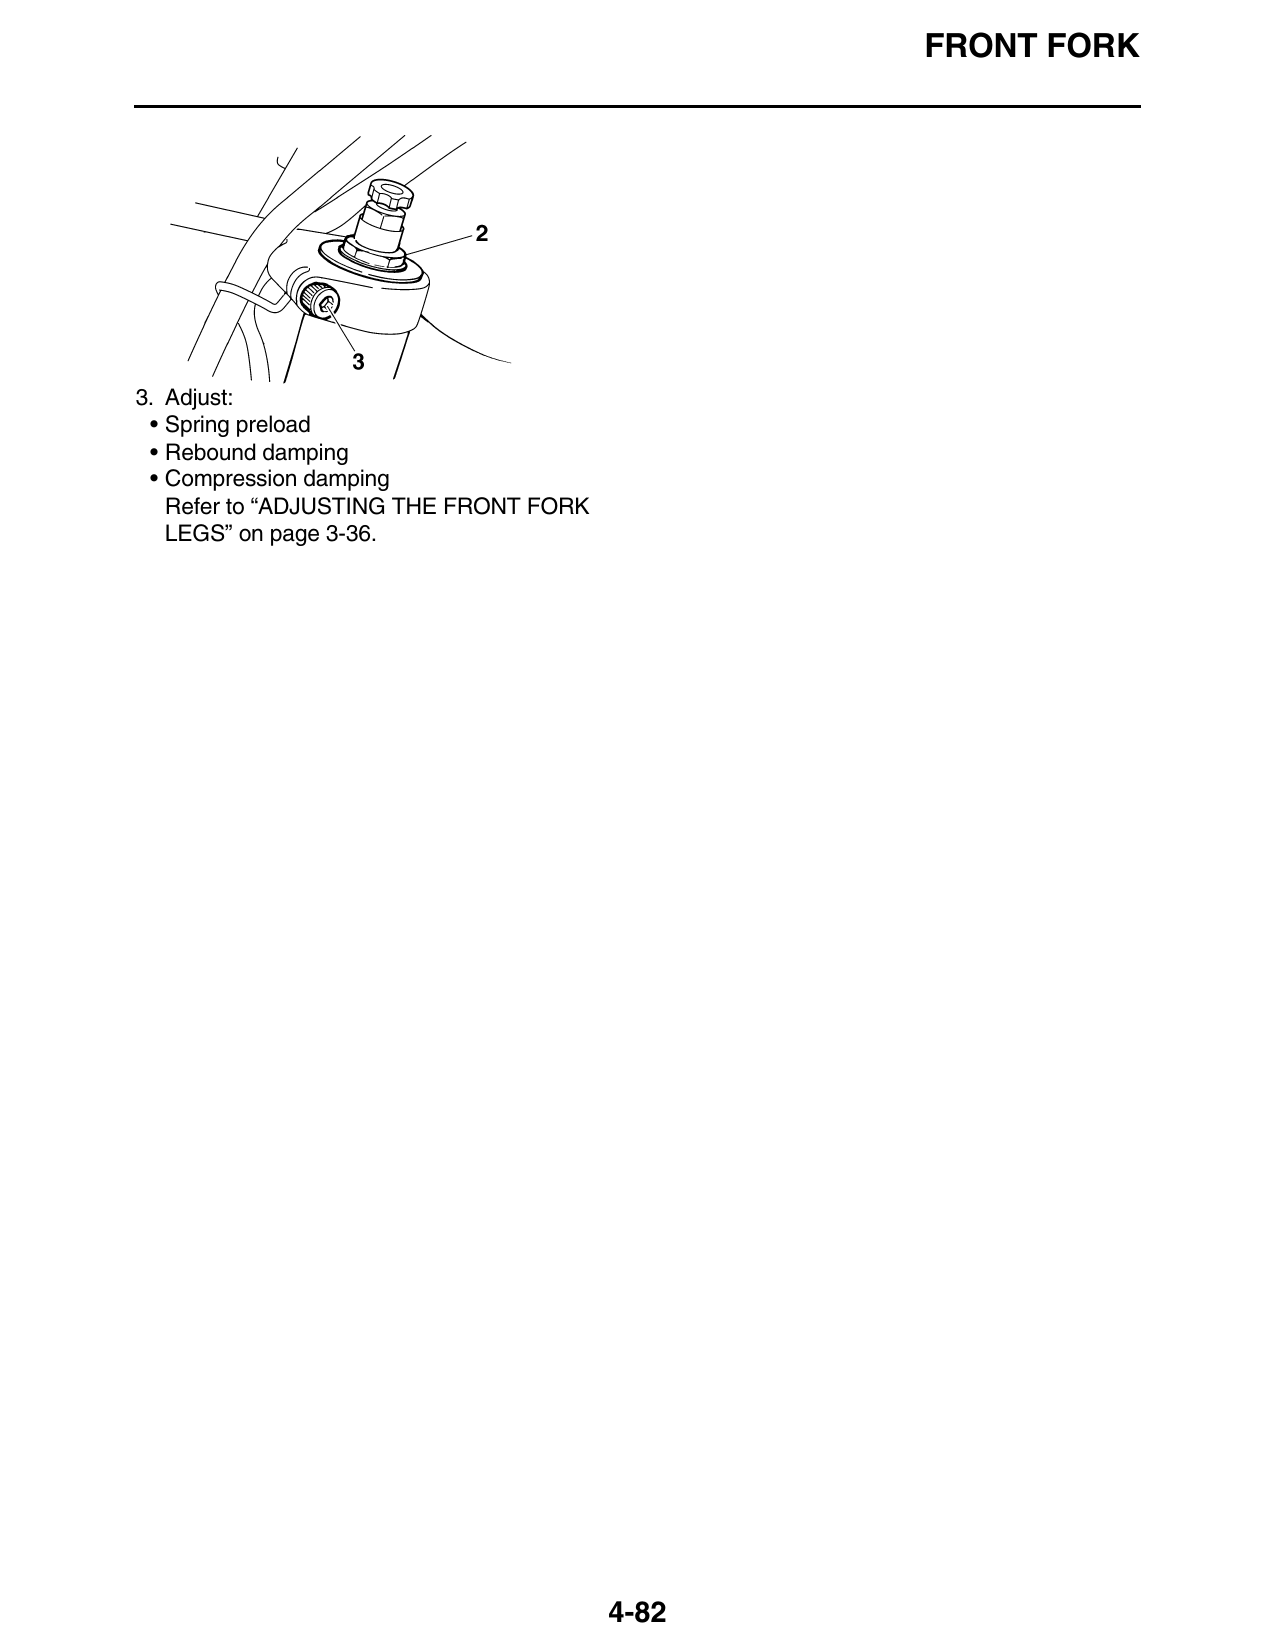
3. Adjust:
• Spring preload
• Rebound damping
• Compression damping
Refer to “ADJUSTING THE FRONT FORK
LEGS” on page 3-36.
4-82