Introduction
Fragment manuala — str. 221
📋 Tekst do skopiowania / wyszukiwania
FRONT BRAKE
EAS22220
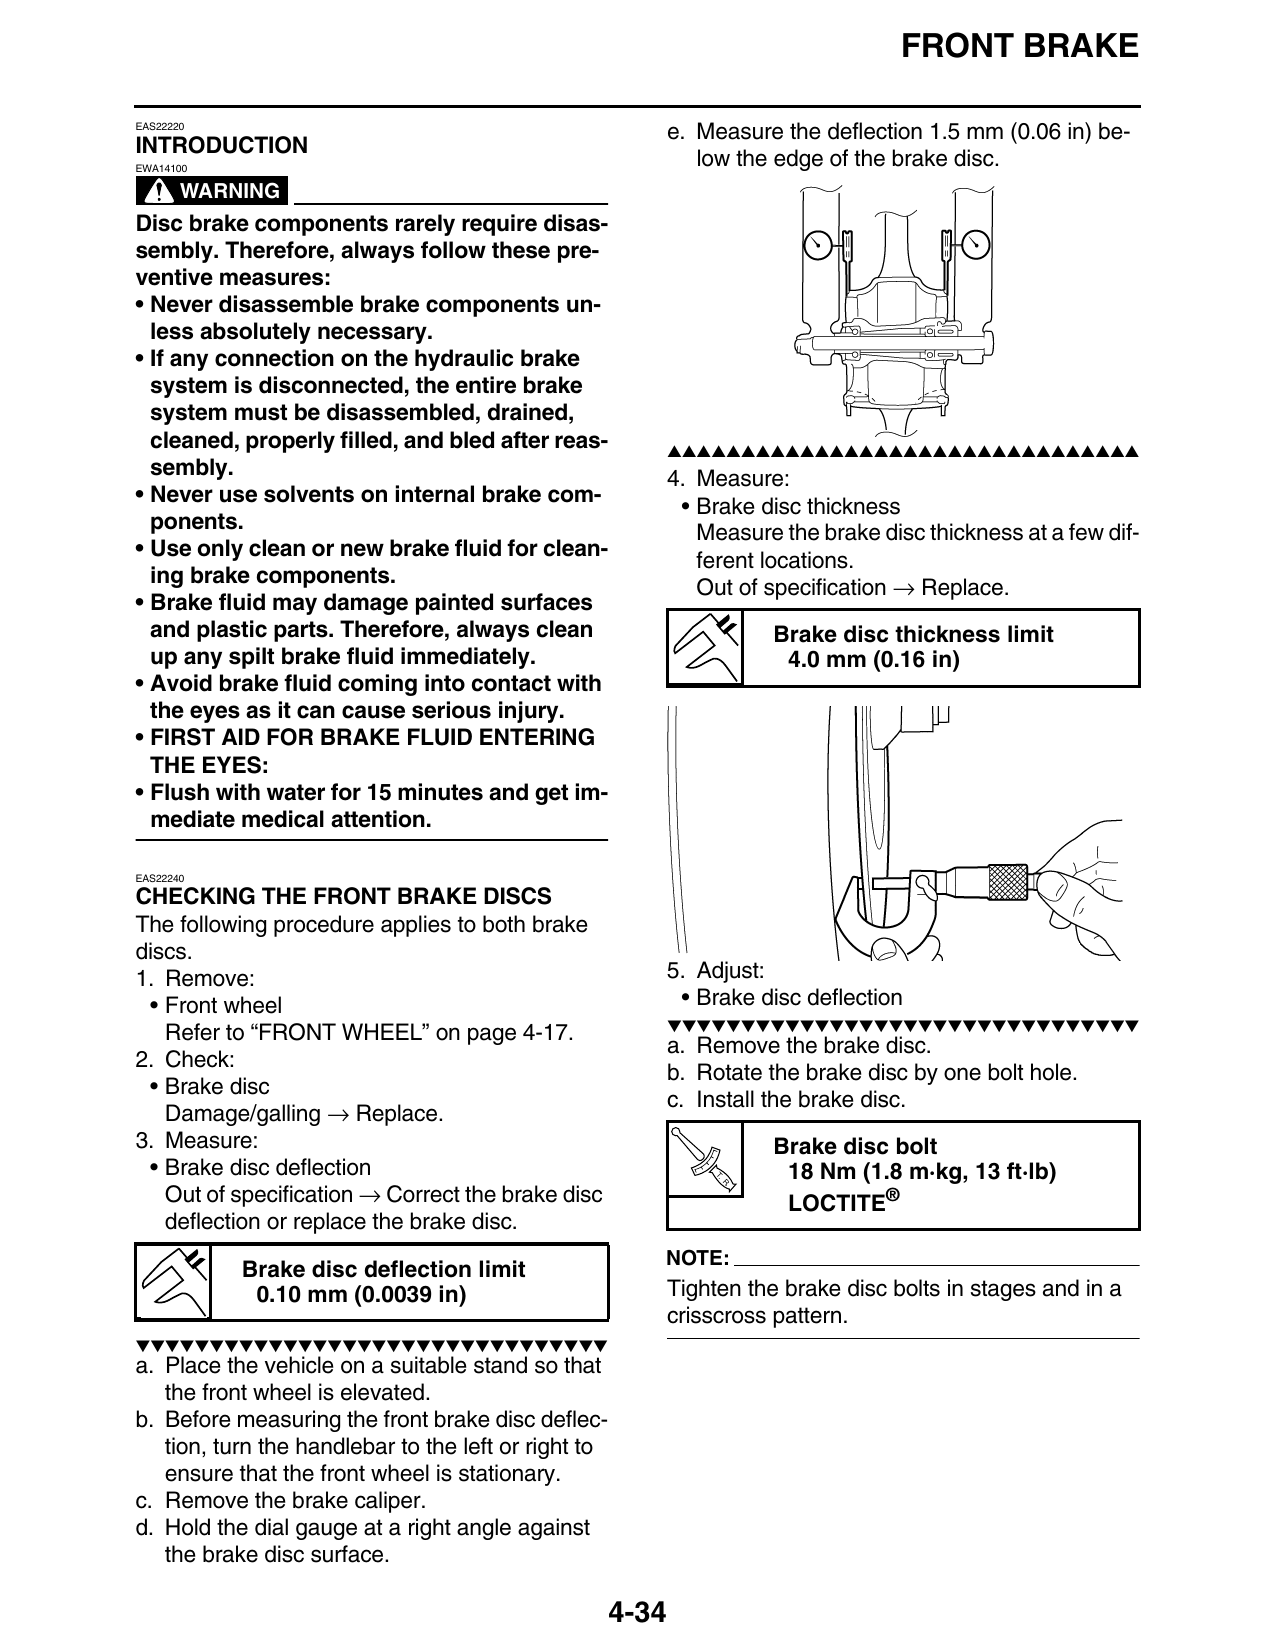
e. Measure the deflection 1.5 mm (0.06 in) be-
INTRODUCTION
EWA14100
low the edge of the brake disc.
WARNING
Disc brake components rarely require disas-
sembly. Therefore, always follow these pre-
ventive measures:
• Never disassemble brake components un-
less absolutely necessary.
• If any connection on the hydraulic brake
system is disconnected, the entire brake
system must be disassembled, drained,
cleaned, properly filled, and bled after reas- ▲▲▲▲▲▲▲▲▲▲▲▲▲▲▲▲▲▲▲▲▲▲▲▲▲▲▲▲▲▲▲▲
sembly.
4. Measure:
• Never use solvents on internal brake com-
• Brake disc thickness
ponents.
Measure the brake disc thickness at a few dif-
• Use only clean or new brake fluid for clean-
ferent locations.
ing brake components.
Out of specification → Replace.
• Brake fluid may damage painted surfaces
and plastic parts. Therefore, always clean Brake disc thickness limit
up any spilt brake fluid immediately. 4.0 mm (0.16 in)
• Avoid brake fluid coming into contact with
the eyes as it can cause serious injury.
• FIRST AID FOR BRAKE FLUID ENTERING
THE EYES:
• Flush with water for 15 minutes and get im-
mediate medical attention.
EAS22240
CHECKING THE FRONT BRAKE DISCS
The following procedure applies to both brake
discs.
1. Remove: 5. Adjust:
• Front wheel • Brake disc deflection
▼▼▼▼▼▼▼▼▼▼▼▼▼▼▼▼▼▼▼▼▼▼▼▼▼▼▼▼▼▼▼▼
Refer to “FRONT WHEEL” on page 4-17.
a. Remove the brake disc.
2. Check:
b. Rotate the brake disc by one bolt hole.
• Brake disc
c. Install the brake disc.
Damage/galling → Replace.
3. Measure: Brake disc bolt
• Brake disc deflection T. 18 Nm (1.8 m·kg, 13 ft·lb)
Out of specification → Correct the brake disc
R.
LOCTITE®
deflection or replace the brake disc.
NOTE:
Brake disc deflection limit
0.10 mm (0.0039 in) Tighten the brake disc bolts in stages and in a
crisscross pattern.
▼▼▼▼▼▼▼▼▼▼▼▼▼▼▼▼▼▼▼▼▼▼▼▼▼▼▼▼▼▼▼▼
a. Place the vehicle on a suitable stand so that
the front wheel is elevated.
b. Before measuring the front brake disc deflec-
tion, turn the handlebar to the left or right to
ensure that the front wheel is stationary.
c. Remove the brake caliper.
d. Hold the dial gauge at a right angle against
the brake disc surface.
4-34