Removing The Camshafts
Fragment manuala — str. 315
📋 Tekst do skopiowania / wyszukiwania
CAMSHAFTS
EAS23810
REMOVING THE CAMSHAFTS
1. Align:
• “T” mark on the pickup rotor
(with the crankcase mating surface)
▼▼▼▼▼▼▼▼▼▼▼▼▼▼▼▼▼▼▼▼▼▼▼▼▼▼▼▼▼▼▼▼
a. Turn the crankshaft clockwise.
b. When piston #1 is at TDC on the compres-
sion stroke, align the “T” mark “a” on the pick-
up rotor with the crankcase mating surface
“b”. 4. Remove:
NOTE: • Timing chain tensioner
TDC on the compression stroke can be found • Timing chain tensioner gasket
when the camshaft lobes are turned away from 5. Remove:
each other. • Camshaft caps
• Dowel pins
ECA13720
CAUTION:
To prevent damage to the cylinder head,
camshafts or camshaft caps, loosen the
b
camshaft cap bolts in stages and in a criss-
cross pattern, working from the outside in.
a
6. Remove:
• Intake camshaft “1”
• Exhaust camshaft “2”
▲▲▲▲▲▲▲▲▲▲▲▲▲▲▲▲▲▲▲▲▲▲▲▲▲▲▲▲▲▲▲▲ NOTE:
2. Remove: To prevent the timing chain from falling into the
• Rubber cap “1” crankcase, fasten it with a wire “3”.
• Timing chain tensioner cap bolt “2”
• Washer
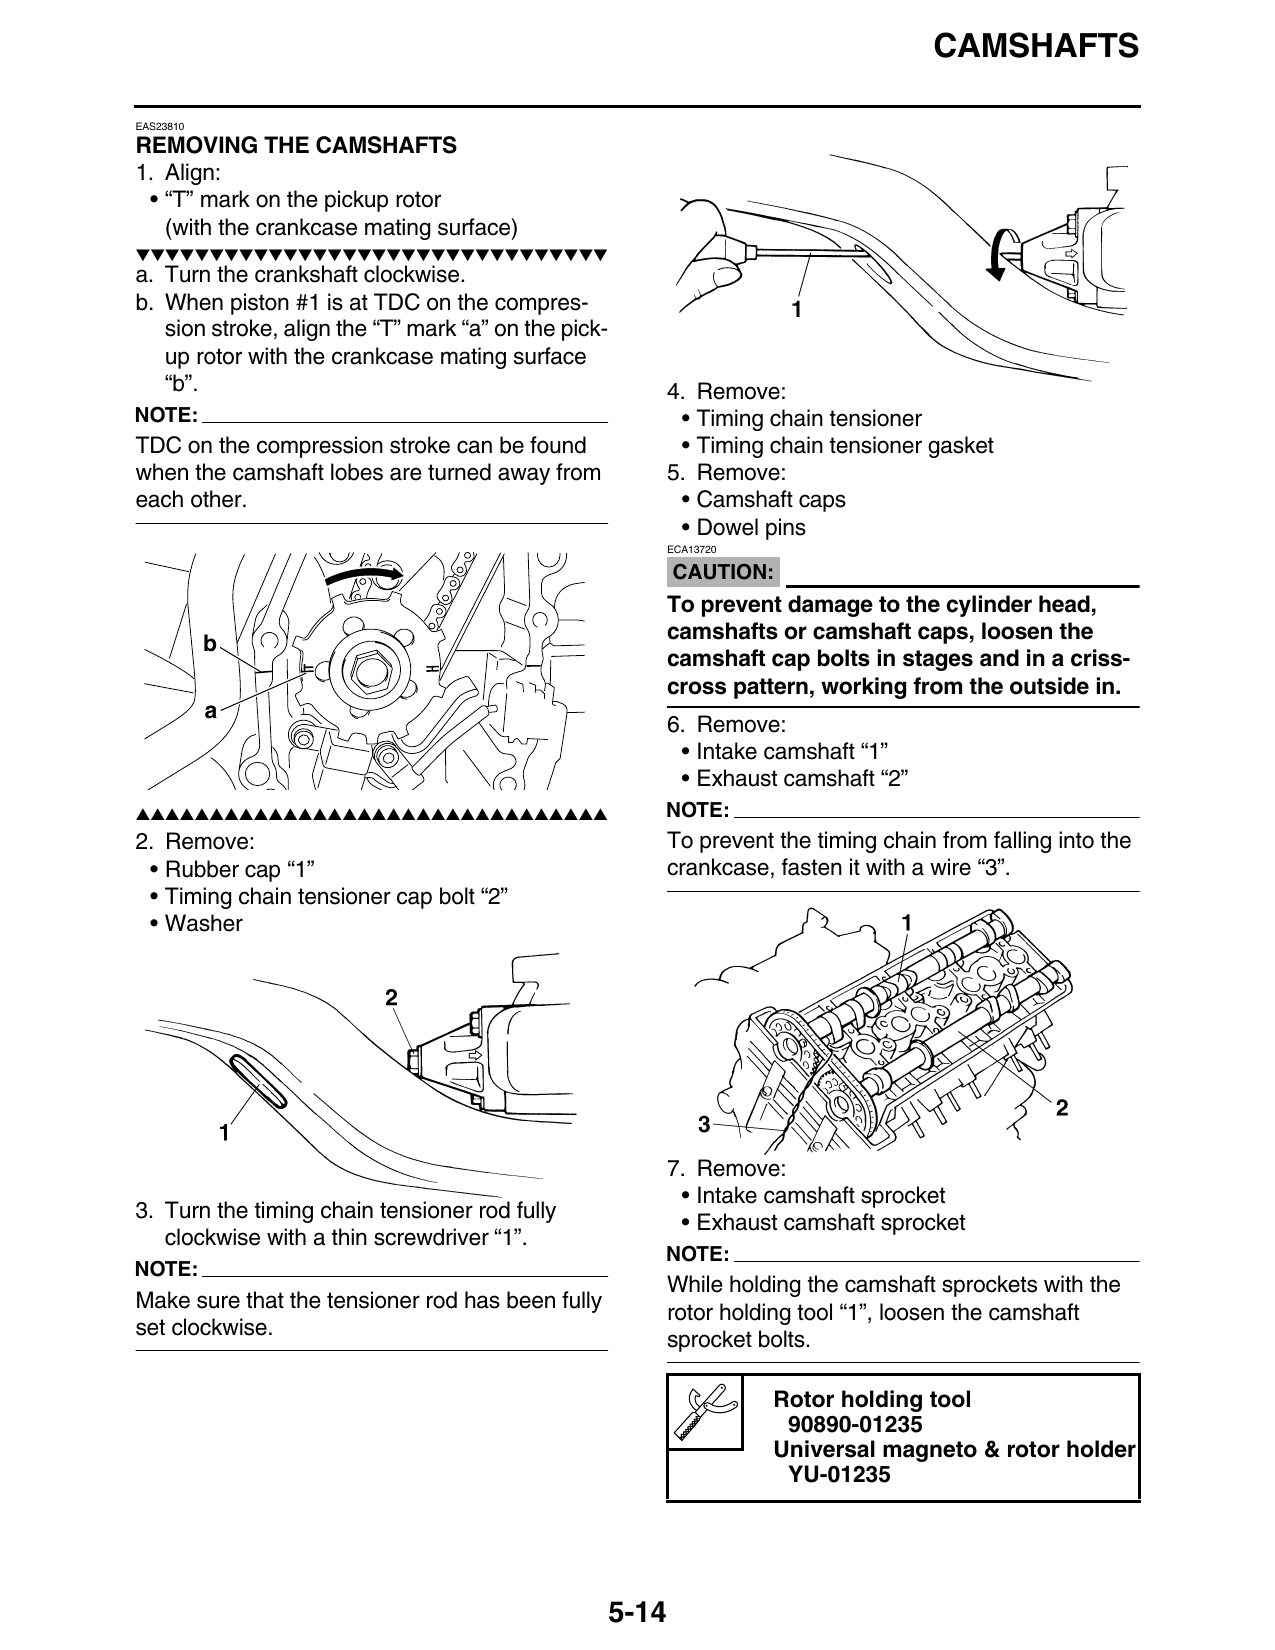
7. Remove:
• Intake camshaft sprocket
3. Turn the timing chain tensioner rod fully
• Exhaust camshaft sprocket
clockwise with a thin screwdriver “1”.
NOTE:
NOTE:
While holding the camshaft sprockets with the
Make sure that the tensioner rod has been fully
rotor holding tool “1”, loosen the camshaft
set clockwise.
sprocket bolts.
Rotor holding tool
90890-01235
Universal magneto & rotor holder
YU-01235
5-14