Removing The Pickup Rotor
Fragment manuala — str. 339–340
📋 Tekst do skopiowania / wyszukiwania
PICKUP ROTOR
EAS24530
REMOVING THE PICKUP ROTOR
1. Remove:
• Pickup rotor bolt “1”
• Washer “2”
• Pickup rotor “3”
NOTE:
While holding the generator rotor “4” with the
sheave holder “5”, loosen the pickup rotor bolt.
2. Tighten:
Sheave holder
90890-01701 • Pickup rotor bolt “1”
Primary clutch holder
Pickup rotor bolt
YS-01880-A
T.
R.
45 Nm (4.5 m·kg, 32 ft·lb)
NOTE:
While holding the generator rotor “2” with the
sheave holder “3”, tighten the pickup rotor bolt.
Sheave holder
90890-01701
3 Primary clutch holder
2 YS-01880-A
EAS24540
INSTALLING THE PICKUP ROTOR 2 3
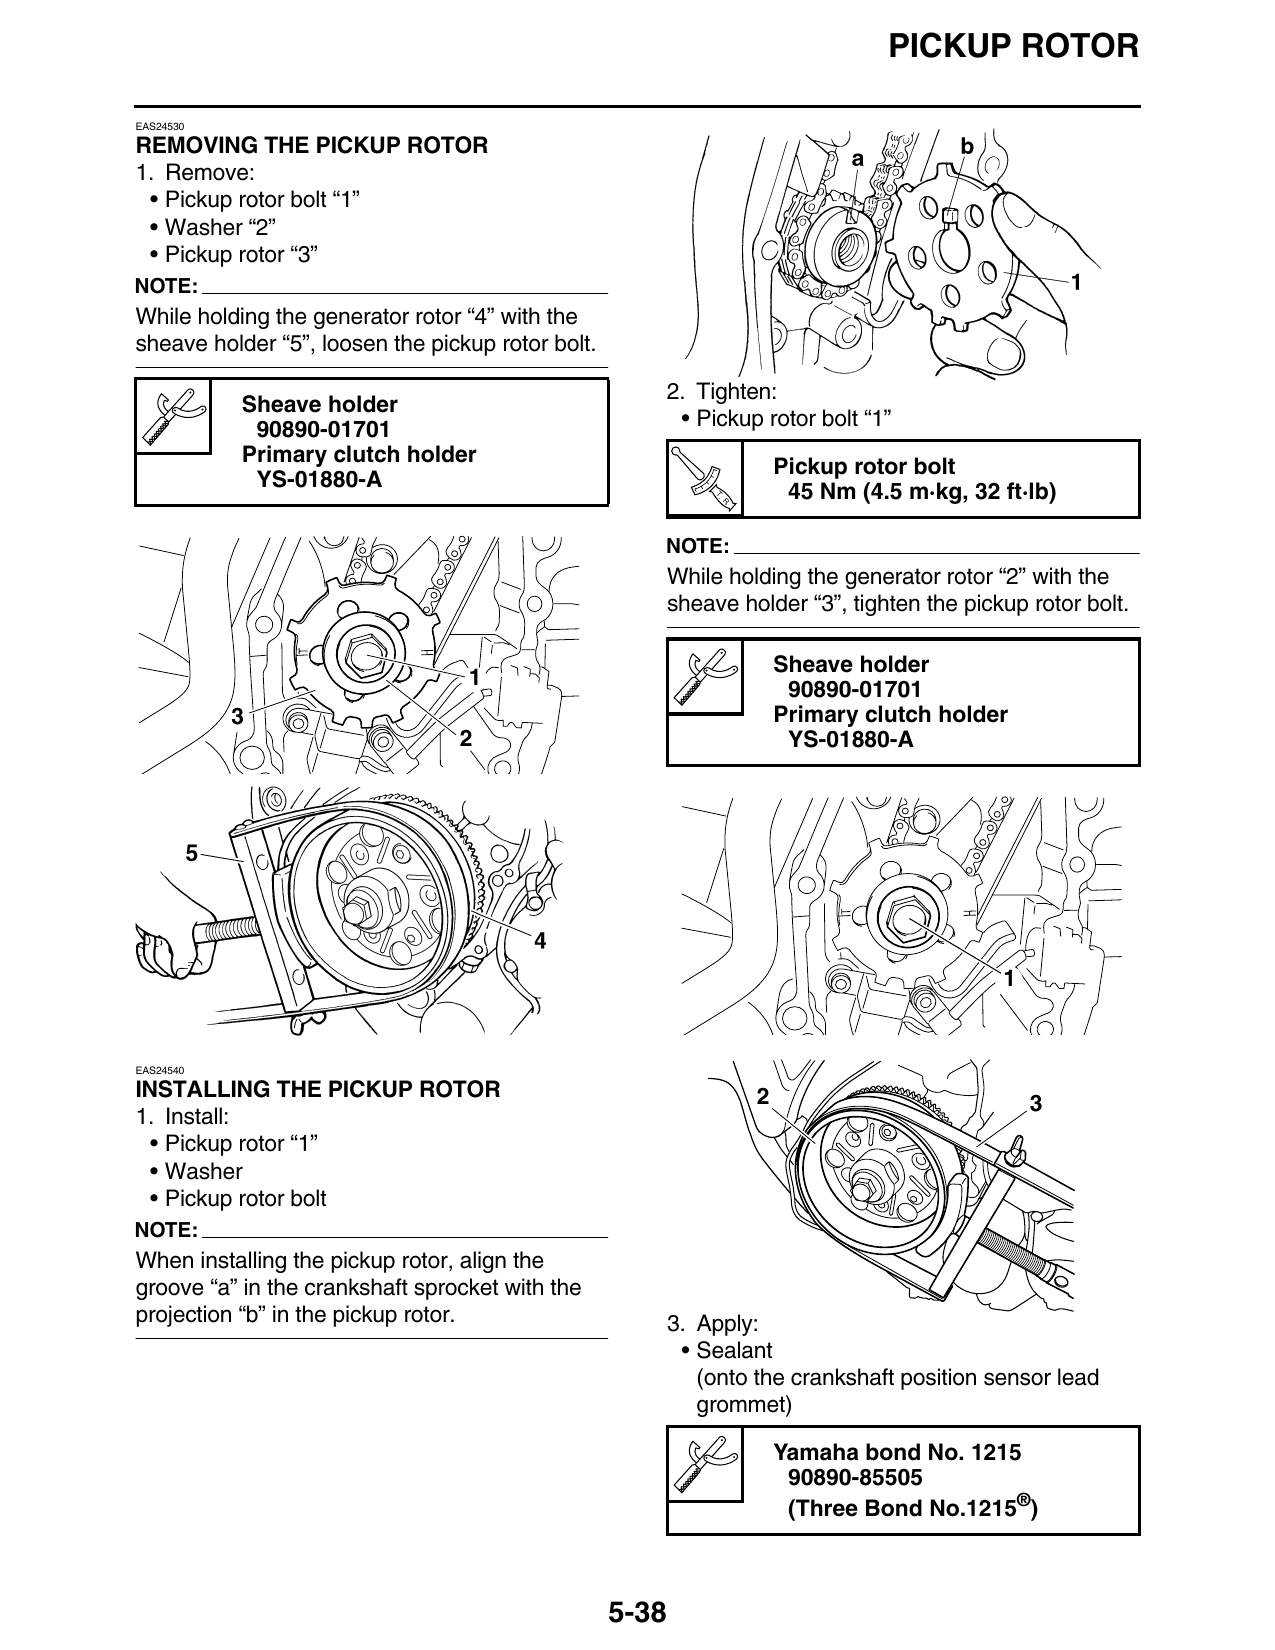
1. Install:
• Pickup rotor “1”
• Washer
• Pickup rotor bolt
NOTE:
When installing the pickup rotor, align the
groove “a” in the crankshaft sprocket with the
projection “b” in the pickup rotor. 3. Apply:
• Sealant
(onto the crankshaft position sensor lead
grommet)
Yamaha bond No. 1215
90890-85505
(Three Bond No.1215®)
5-38
PICKUP ROTOR
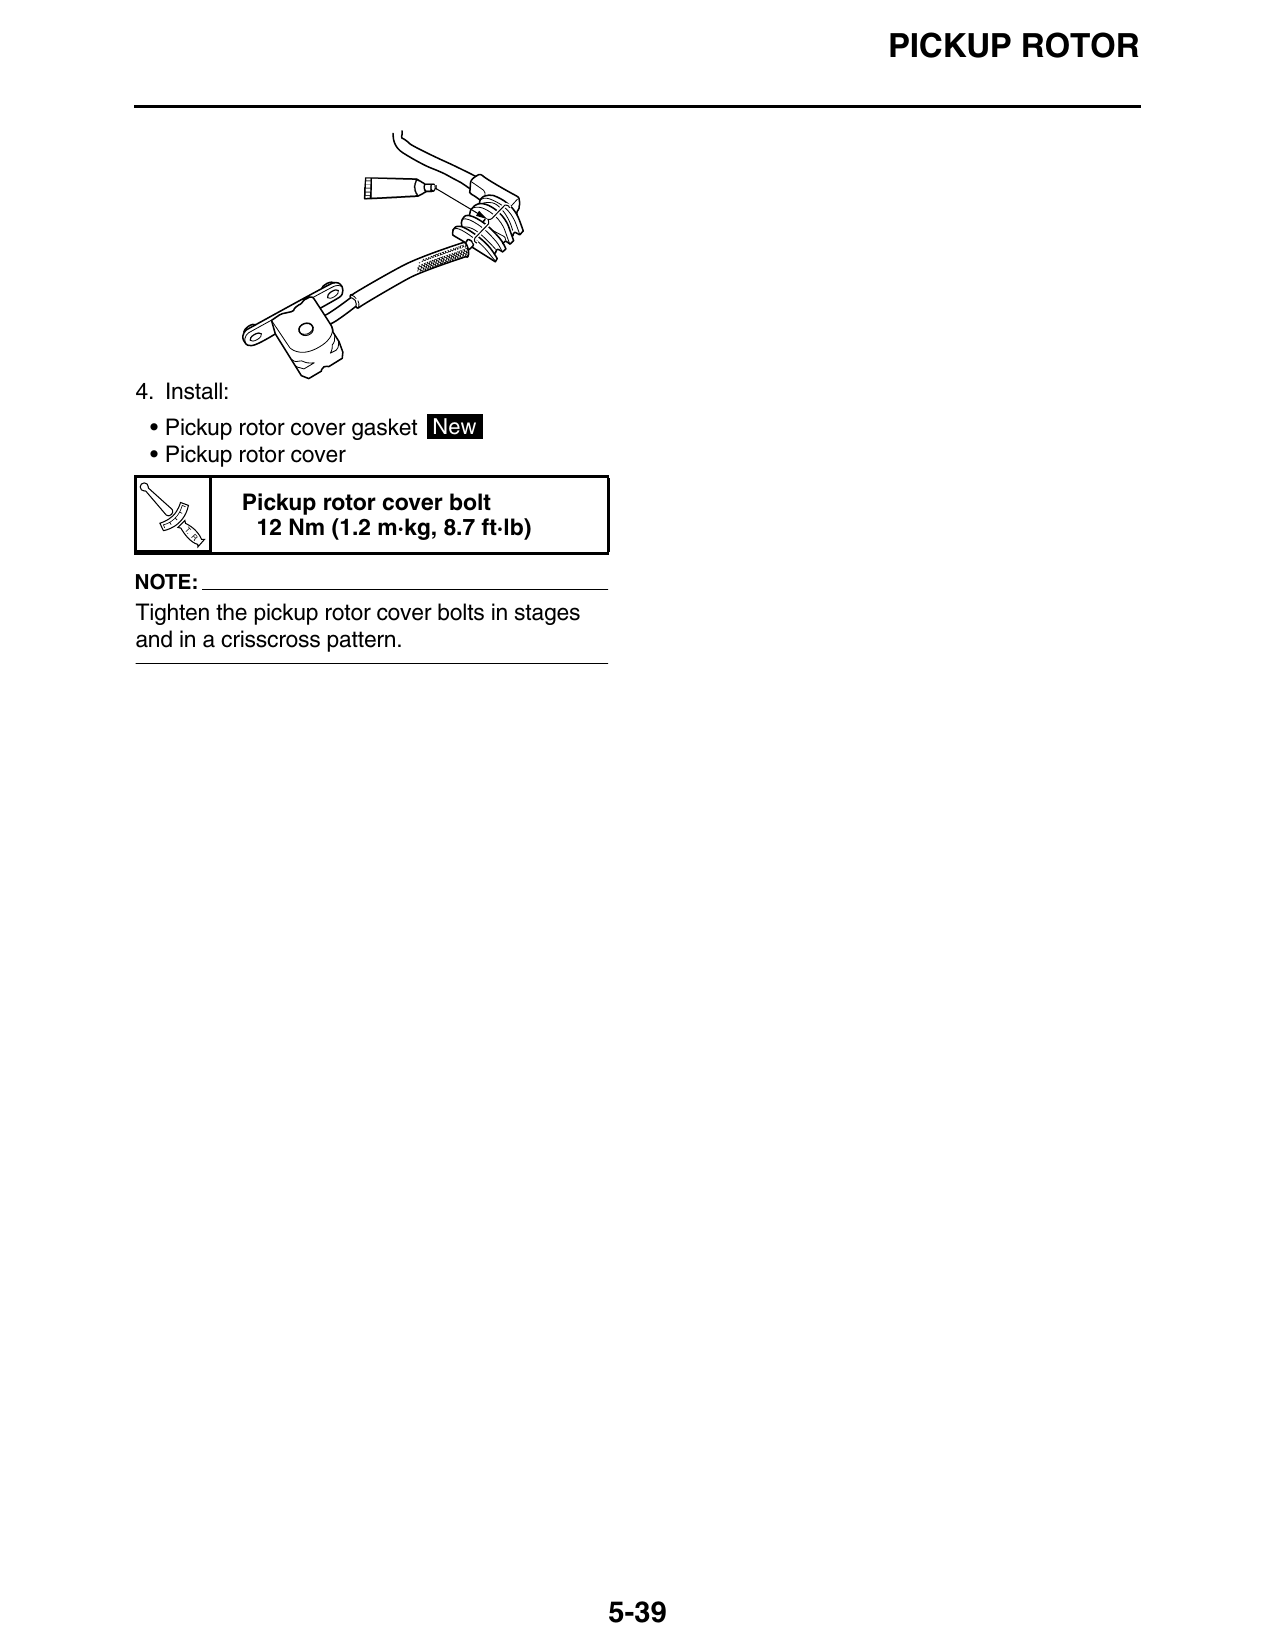
4. Install:
• Pickup rotor cover gasket New
• Pickup rotor cover
Pickup rotor cover bolt
T.
R.
12 Nm (1.2 m·kg, 8.7 ft·lb)
NOTE:
Tighten the pickup rotor cover bolts in stages
and in a crisscross pattern.
5-39