Removing The Shift Actuator
Fragment manuala — str. 370
📋 Tekst do skopiowania / wyszukiwania
SHIFT ACTUATOR AND SHIFT ROD (FJR13AE only)
ET3P66038
REMOVING THE SHIFT ACTUATOR
1. Remove:
• Shift actuator
▼▼▼▼▼▼▼▼▼▼▼▼▼▼▼▼▼▼▼▼▼▼▼▼▼▼▼▼▼▼▼▼
a. Pass a suitable 5 mm diameter rod “1”
through the holes in the rear shift arm and
shift actuator to secure the shift rod.
b. Remove the shift rod “2”.
EC2D21001
CAUTION:
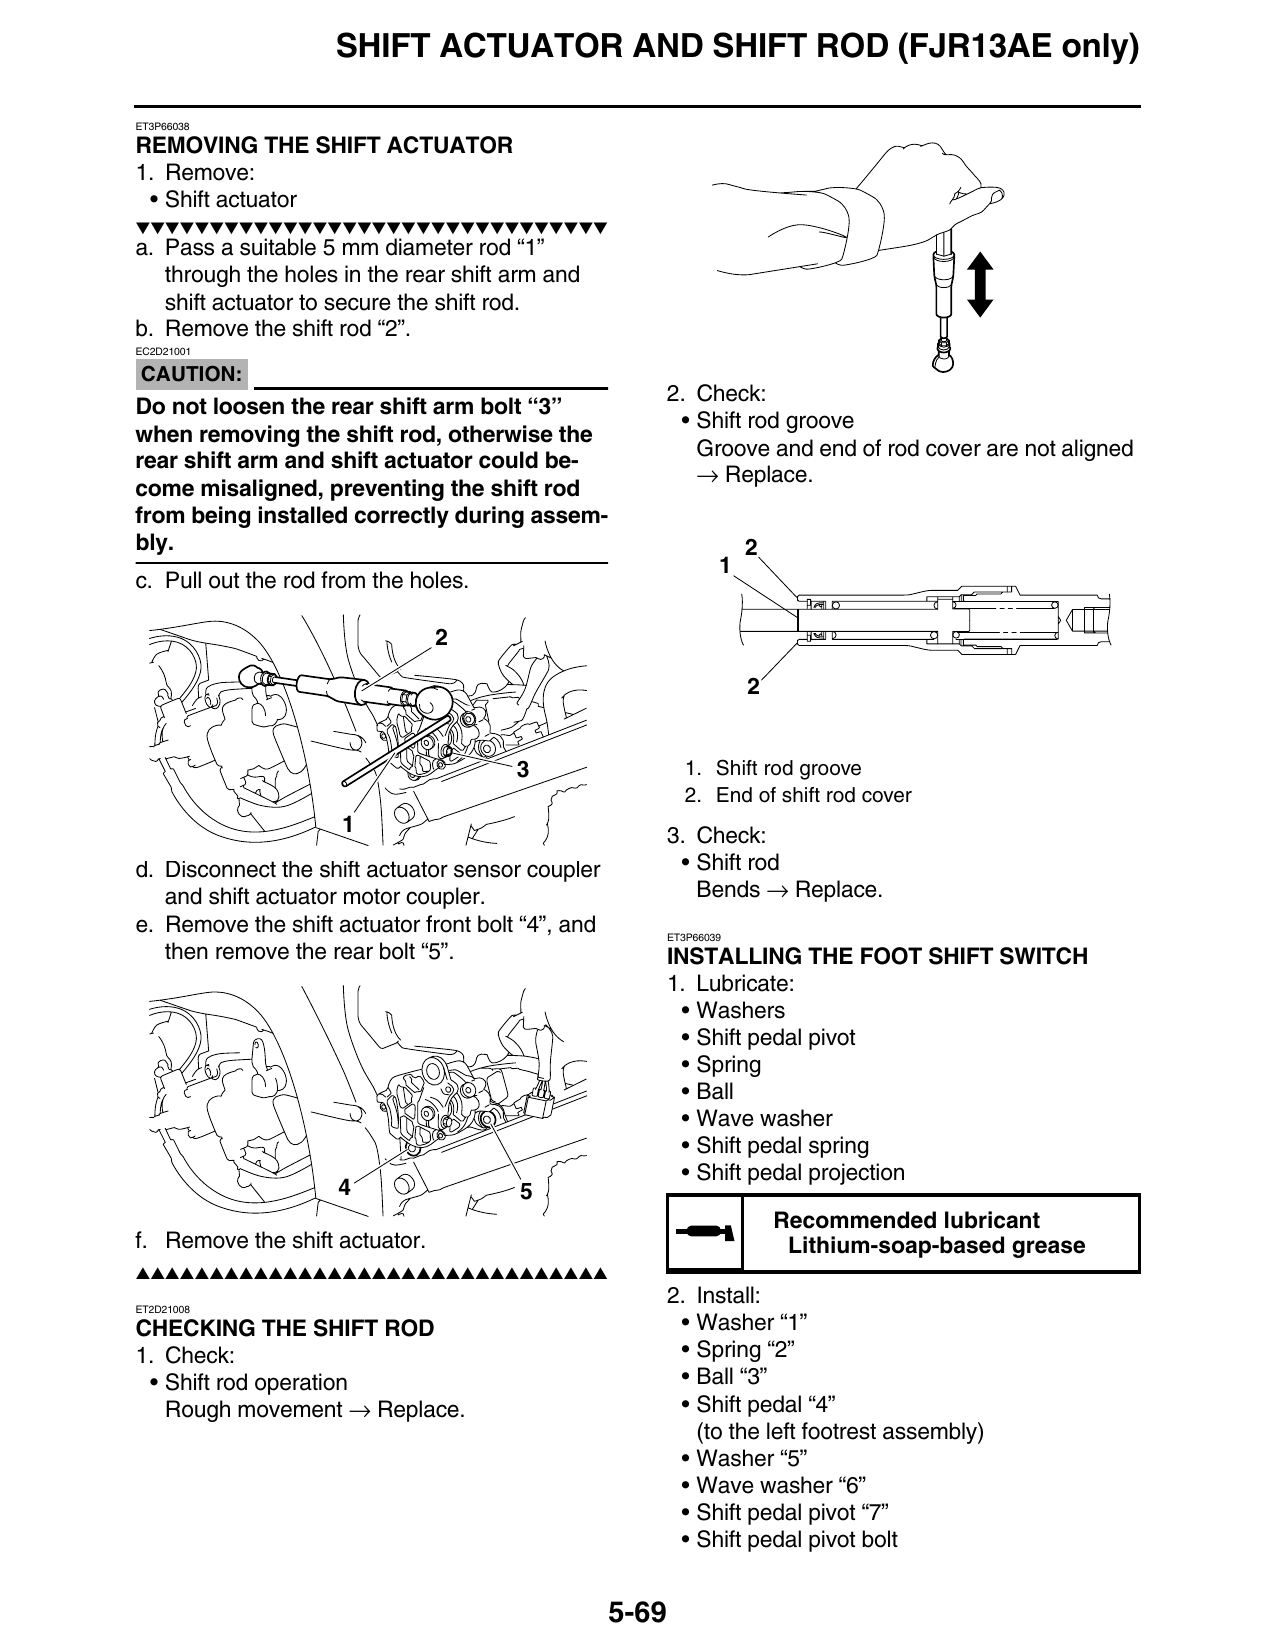
2. Check:
Do not loosen the rear shift arm bolt “3”
• Shift rod groove
when removing the shift rod, otherwise the
Groove and end of rod cover are not aligned
rear shift arm and shift actuator could be-
→ Replace.
come misaligned, preventing the shift rod
from being installed correctly during assem-
bly. 2
c. Pull out the rod from the holes.
3 1. Shift rod groove
2. End of shift rod cover
1 3. Check:
d. Disconnect the shift actuator sensor coupler • Shift rod
and shift actuator motor coupler. Bends → Replace.
e. Remove the shift actuator front bolt “4”, and ET3P66039
then remove the rear bolt “5”. INSTALLING THE FOOT SHIFT SWITCH
1. Lubricate:
• Washers
• Shift pedal pivot
• Spring
• Ball
• Wave washer
• Shift pedal spring
• Shift pedal projection
4 5
Recommended lubricant
f. Remove the shift actuator. Lithium-soap-based grease
▲▲▲▲▲▲▲▲▲▲▲▲▲▲▲▲▲▲▲▲▲▲▲▲▲▲▲▲▲▲▲▲
ET2D21008
2. Install:
CHECKING THE SHIFT ROD • Washer “1”
1. Check: • Spring “2”
• Shift rod operation • Ball “3”
Rough movement → Replace. • Shift pedal “4”
(to the left footrest assembly)
• Washer “5”
• Wave washer “6”
• Shift pedal pivot “7”
• Shift pedal pivot bolt
5-69