Checking The Thermostat
Fragment manuala — str. 443–444
📋 Tekst do skopiowania / wyszukiwania
THERMOSTAT
EAS26450
2. Check:
CHECKING THE THERMOSTAT
• Thermostat housing
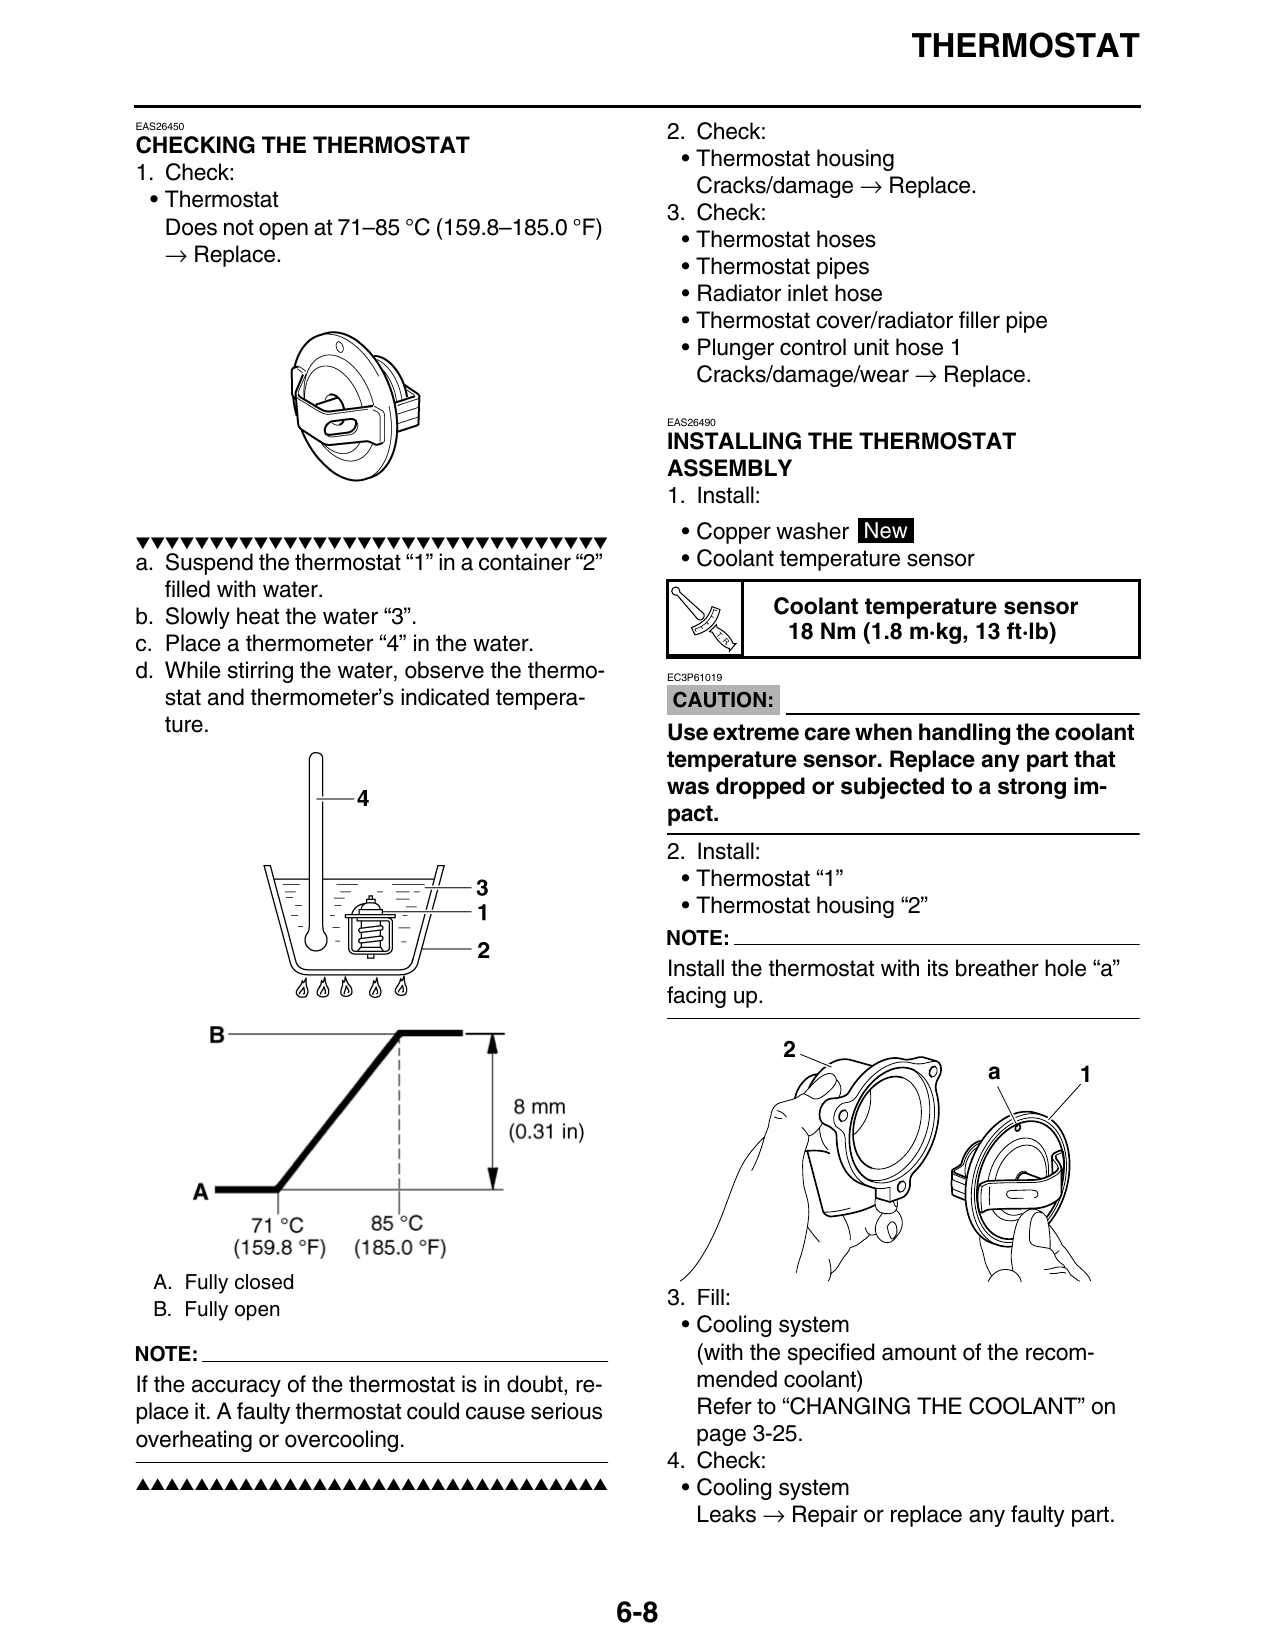
1. Check:
Cracks/damage → Replace.
• Thermostat
3. Check:
Does not open at 71–85 °C (159.8–185.0 °F)
• Thermostat hoses
→ Replace.
• Thermostat pipes
• Radiator inlet hose
• Thermostat cover/radiator filler pipe
• Plunger control unit hose 1
Cracks/damage/wear → Replace.
EAS26490
INSTALLING THE THERMOSTAT
ASSEMBLY
1. Install:
▼▼▼▼▼▼▼▼▼▼▼▼▼▼▼▼▼▼▼▼▼▼▼▼▼▼▼▼▼▼▼▼
• Copper washer New
a. Suspend the thermostat “1” in a container “2” • Coolant temperature sensor
filled with water.
b. Slowly heat the water “3”. Coolant temperature sensor
18 Nm (1.8 m·kg, 13 ft·lb)
c. Place a thermometer “4” in the water.
T.
R.
d. While stirring the water, observe the thermo- EC3P61019
stat and thermometer’s indicated tempera- CAUTION:
ture. Use extreme care when handling the coolant
temperature sensor. Replace any part that
was dropped or subjected to a strong im-
pact.
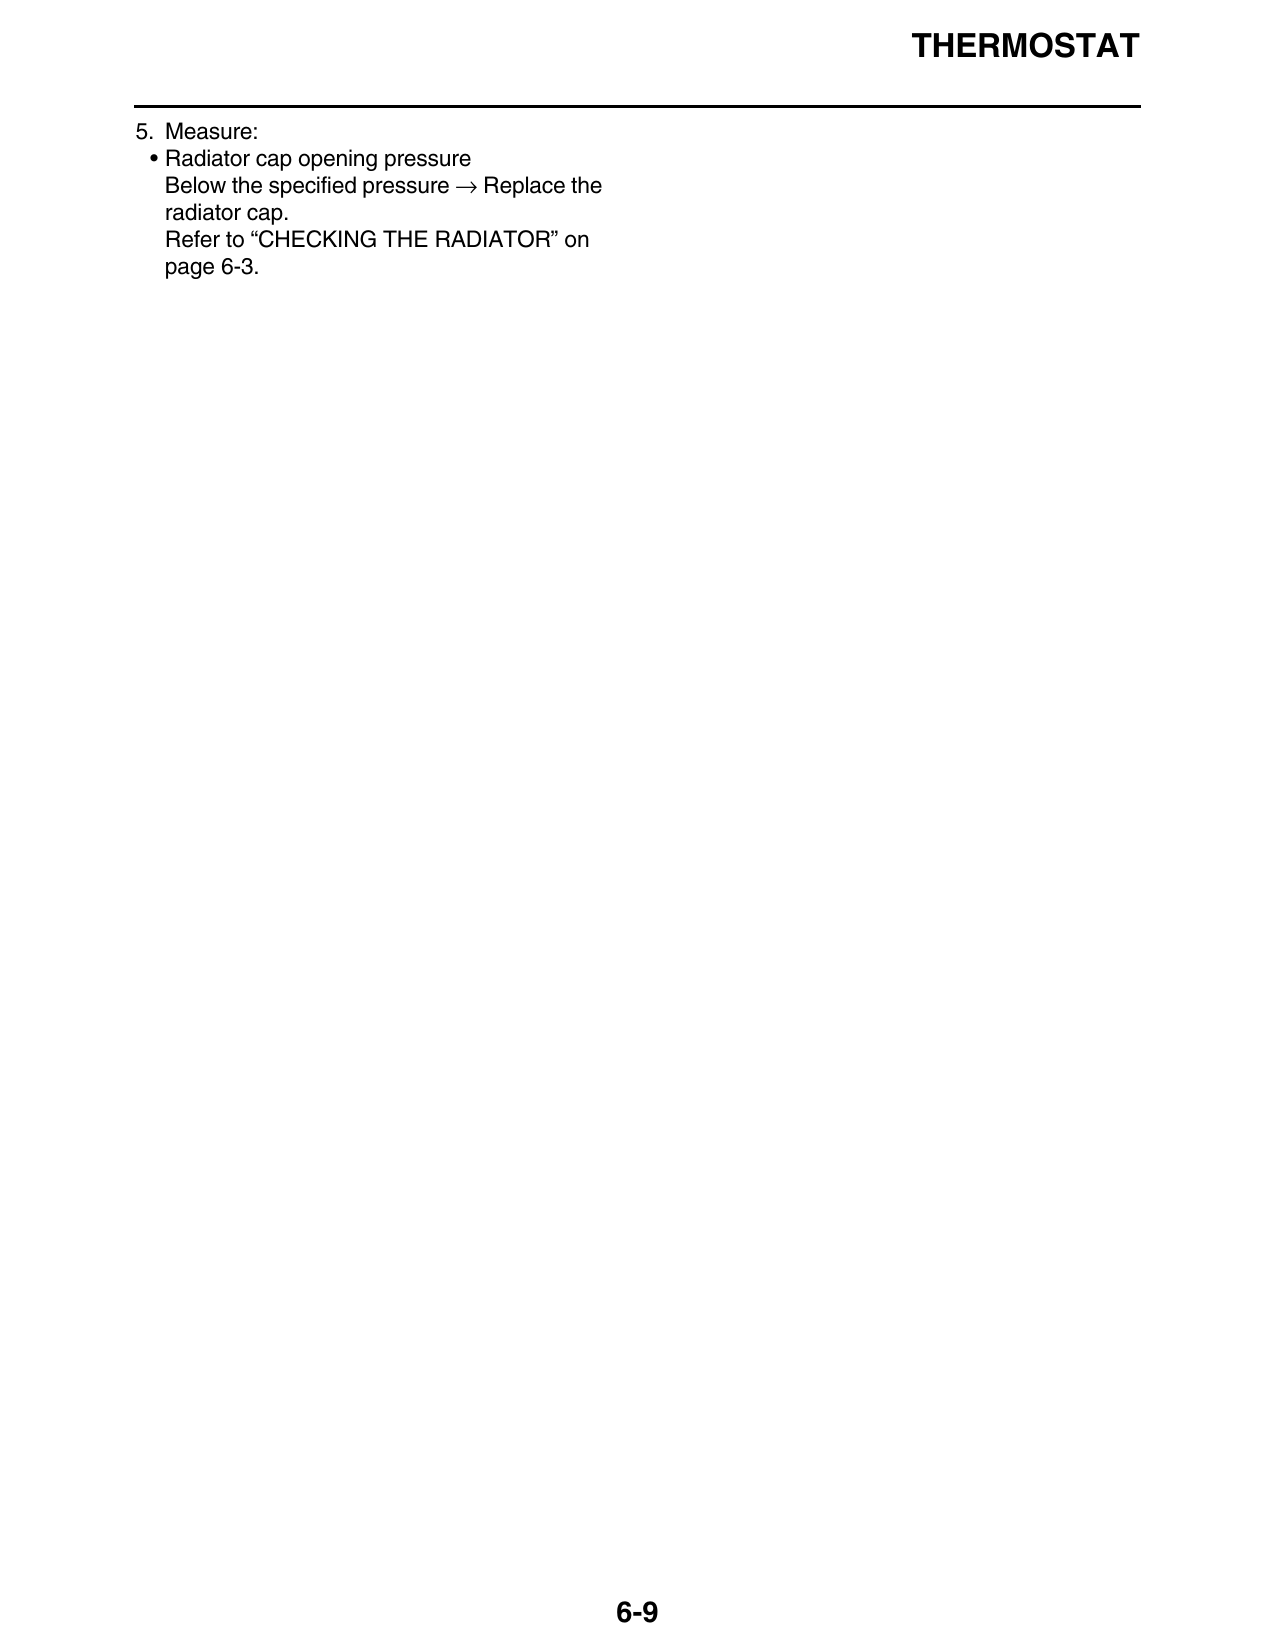
2. Install:
• Thermostat “1”
• Thermostat housing “2”
NOTE:
Install the thermostat with its breather hole “a”
facing up.
a 1
A. Fully closed
B. Fully open 3. Fill:
• Cooling system
NOTE: (with the specified amount of the recom-
If the accuracy of the thermostat is in doubt, re- mended coolant)
place it. A faulty thermostat could cause serious Refer to “CHANGING THE COOLANT” on
overheating or overcooling. page 3-25.
4. Check:
▲▲▲▲▲▲▲▲▲▲▲▲▲▲▲▲▲▲▲▲▲▲▲▲▲▲▲▲▲▲▲▲ • Cooling system
Leaks → Repair or replace any faulty part.
6-8
THERMOSTAT
5. Measure:
• Radiator cap opening pressure
Below the specified pressure → Replace the
radiator cap.
Refer to “CHECKING THE RADIATOR” on
page 6-3.
6-9